How Do You Measure a Toilet Flapper in 5 Easy Steps
First, turn off your toilet’s water supply and flush to drain the tank completely. This step is crucial to avoid any water spillage when you remove the old flapper.
Then, carefully remove the old flapper from the flush valve, noting how it’s attached. Understanding the attachment helps when you install the new one later.
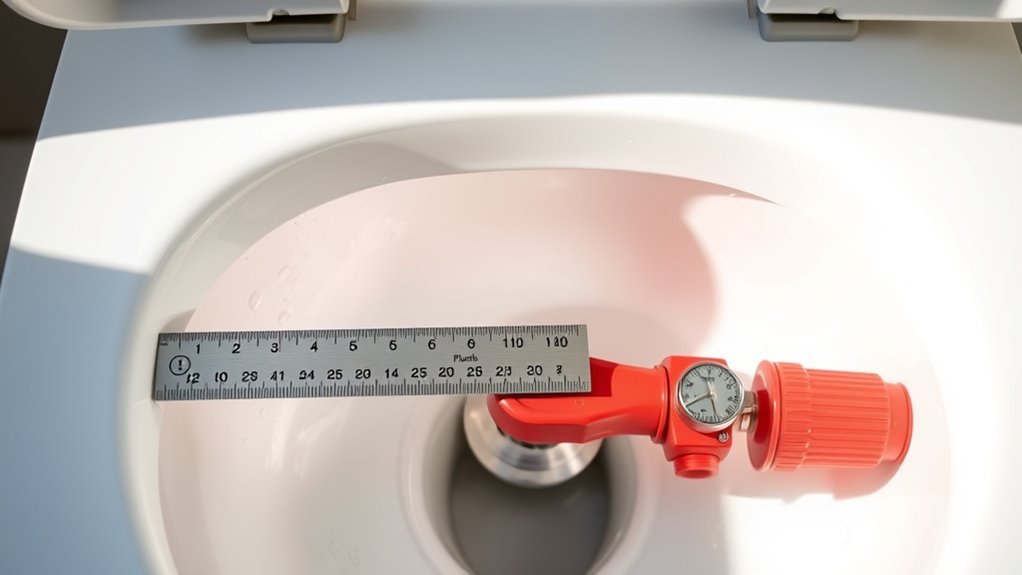
Next, use a ruler or tape measure to find the diameter of the flush valve opening where the flapper sits. This opening is usually 2 or 3 inches, but measuring ensures you get the right fit.
Write down this size and look for any special features like adjustable floats or hinge types. These details can affect your choice of the perfect replacement.
Keep going, and you’ll find tips for choosing the perfect replacement flapper that fits your toilet and improves flushing performance.
Key Takeaways
- Turn off the water supply and flush the toilet to empty the tank completely.
- Remove the existing flapper by detaching it from the flush valve and hinges carefully.
- Use a flexible tape measure or ruler to measure the diameter of the flush valve opening inside the tank.
- Record the exact diameter in inches, typically 2 or 3 inches, ensuring the measurement is accurate.
- Note any special flapper features like adjustable height or hinge type to match with the replacement.
Turn Off the Water Supply and Drain the Tank
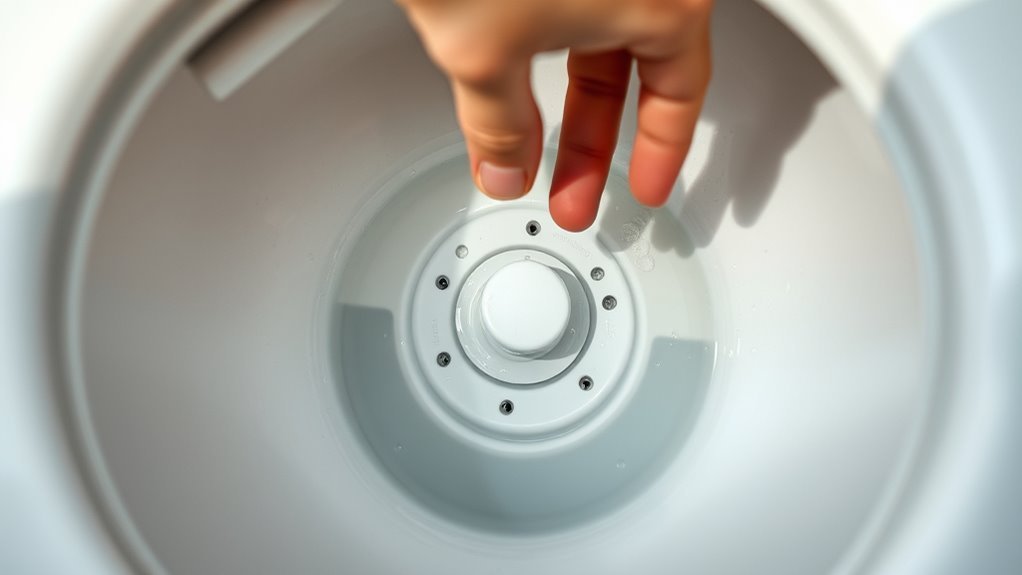
Before measuring the toilet flapper, turn off the water supply by locating the shut-off valve at the base of the toilet and turning it clockwise. This stops the water flow, preventing the tank from refilling while you work.
Next, flush the toilet to drain the tank, allowing most of the water to exit. Hold down the flush lever to release any remaining water inside.
If you still see water at the bottom, use a sponge or towel to soak it up. Ensuring the tank is empty is essential for accurate flapper measurement.
Remove the Existing Flapper From the Flush Valve
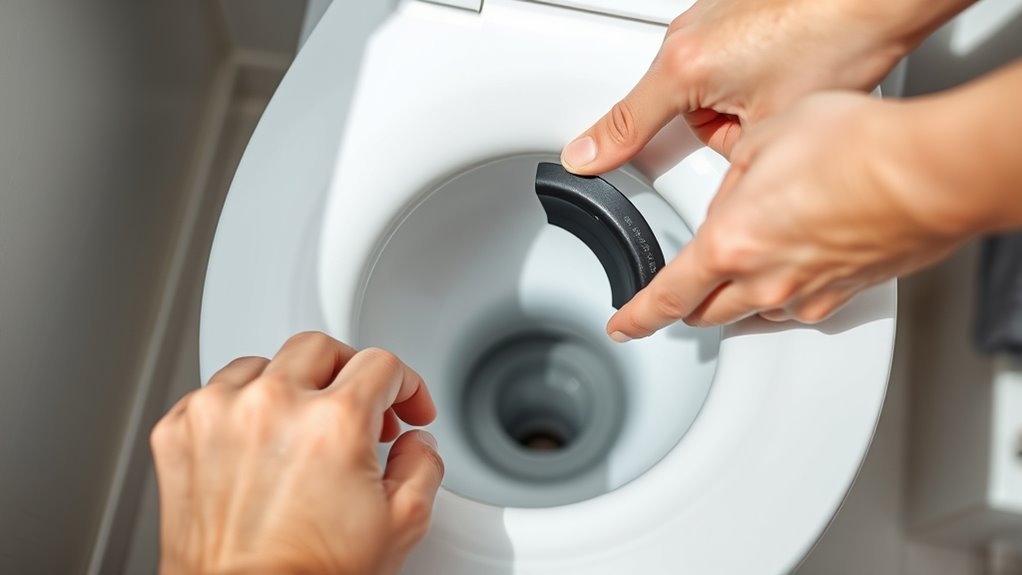
With the water supply turned off and the tank emptied, you’re ready to remove the old flapper. First, carefully disconnect the toilet flapper hinges from the fill tube to avoid damage.
Next, gently lift the flapper off the flush valve, noting its placement for the new one. Check the hinges and flush valve for wear or buildup before disposal.
| Step | Action | Tip |
|---|---|---|
| 1 | Disconnect flapper hinges | Handle gently |
| 2 | Lift flapper from flush valve | Note positioning |
| 3 | Inspect and dispose | Look for damage or buildup |
Removing the flapper properly ensures a smooth replacement and prevents leaks. It’s a simple step but really important to get right.
Measure the Diameter of the Flush Valve Opening
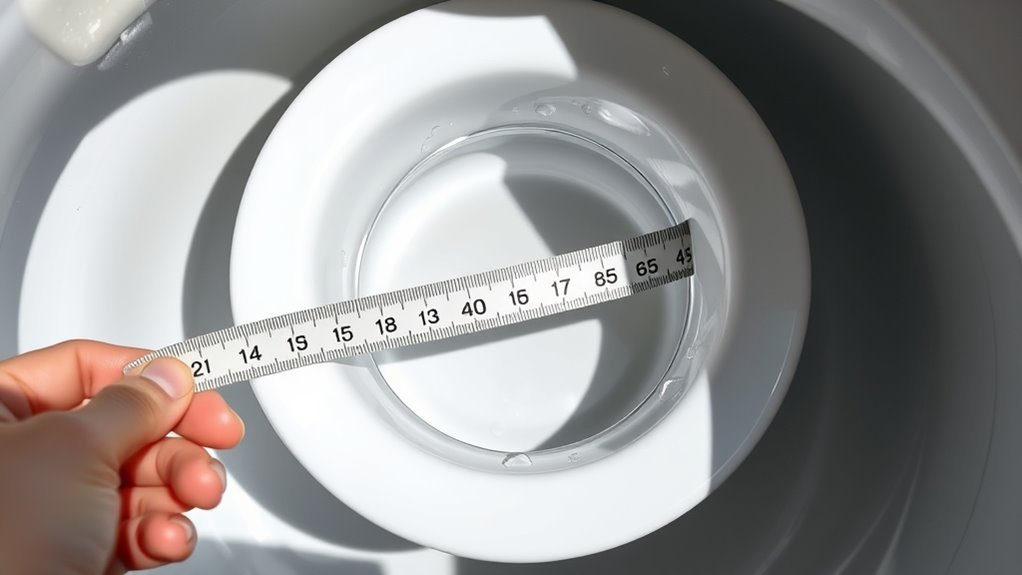
Although it might seem straightforward, measuring the diameter of the flush valve opening accurately is essential to finding a flapper that fits properly. First, make sure the tank is empty to avoid any water interference.
Use a flexible measuring tape or a ruler to measure across the widest part of the flush valve opening inside the tank. Focus on the point where the flapper sits since this determines the correct diameter.
Measure carefully in inches, as standard flapper sizes are usually 2-inch or 3-inch. Take your time to measure precisely, and don’t hesitate to double-check to ensure your measurement is correct.
Record the Measurement for Accurate Replacement
Since accurate measurements are key to finding the right replacement flapper, you should write down the exact diameter you measured in inches. This measurement determines the correct flapper size needed to fit your tank’s flush valve opening.
Be sure to note whether the size is precise or approximate, as even small differences can affect the flapper’s performance. After recording the measurement, double-check it by comparing with the existing flapper or reviewing your toilet’s model specifications.
Keeping this information handy ensures you pick a compatible flapper size, preventing issues like leaks or poor flushing. By carefully documenting your measurement, you make the replacement process smoother and guarantee your toilet functions properly once the new flapper is installed.
Note Additional Flapper Features for Compatibility
When selecting a replacement flapper, pay close attention to additional features like adjustable heights or float mechanisms. These help customize flush volume and guarantee compatibility with your toilet model.
Some flappers come with integrated fill valves or refill tubes designed for specific tank setups, enhancing the seal. Look for rubber or silicone seals and reinforced edges to ensure the flapper fits securely and functions properly.
Compatibility also improves with flappers that offer universal or flexible fittings adaptable to both 2-inch and 3-inch flush valve openings. Don’t forget that unique hinge designs or connection points might require matching your tank’s hinges or fill tube adapters.
Considering these features assures you choose a flapper that not only fits but also performs efficiently in your specific toilet system. It’s worth taking a moment to check these details before making your purchase.
Frequently Asked Questions
How Do I Know What Size Toilet Flush Valve I Need?
You’ll know the flush valve size by measuring the diameter of the tank opening where the flapper sits. Most are 2 or 3 inches, but double-check by comparing with your old flapper or tank markings.
It’s pretty straightforward once you get a look at it. Just grab a tape measure and check the size right at the opening. That way, you’ll be sure to get the right fit!
How to Adjust a Toilet Chain?
Don’t bite off more than you can chew—adjust your toilet chain by lifting the flapper, ensuring about ½ inch slack.
Use pliers or scissors to add or remove chain links. Then test by flushing and readjusting as needed.
It’s a simple fix, but getting that slack just right makes all the difference!
How to Install a Toilet Flapper?
You install a toilet flapper by turning off the water first. Then, you remove the old flapper from the flush valve.
Next, attach the new flapper to the flush valve. Don’t forget to connect the chain with just a little bit of slack.
After that, turn the water back on. Finally, test the flush to make sure everything works properly.
How to Measure a Toilet for Installation?
You don’t need a crystal ball—just measure the toilet’s base width, length from tank to front, and height from floor to seat.
Grab a tape, jot numbers down, and you’re ready for a perfect fit installation. It’s simpler than it sounds!
Conclusion
Now that you’ve measured your toilet flapper, picture the smooth flush that follows a perfect fit. With the water off and the tank drained, you’ve uncovered the heart of your toilet’s flush system.
Holding that measurement in your hand, you’re ready to find a flapper that seals just right, preventing leaks and saving water. A simple step like this keeps your bathroom running quietly and efficiently.
By measuring your toilet flapper accurately, you ensure a perfect replacement that stops leaks and boosts toilet performance. This small maintenance task helps conserve water and avoid costly repairs, keeping your bathroom running like a well-oiled machine.