How Do You Use a Plunger in 7 Easy Steps
Choose the right plunger—flange for toilets, cup for sinks. This step is crucial because using the correct type ensures better suction and effectiveness.
Clear any debris from the drain and add enough water to cover the plunger cup.
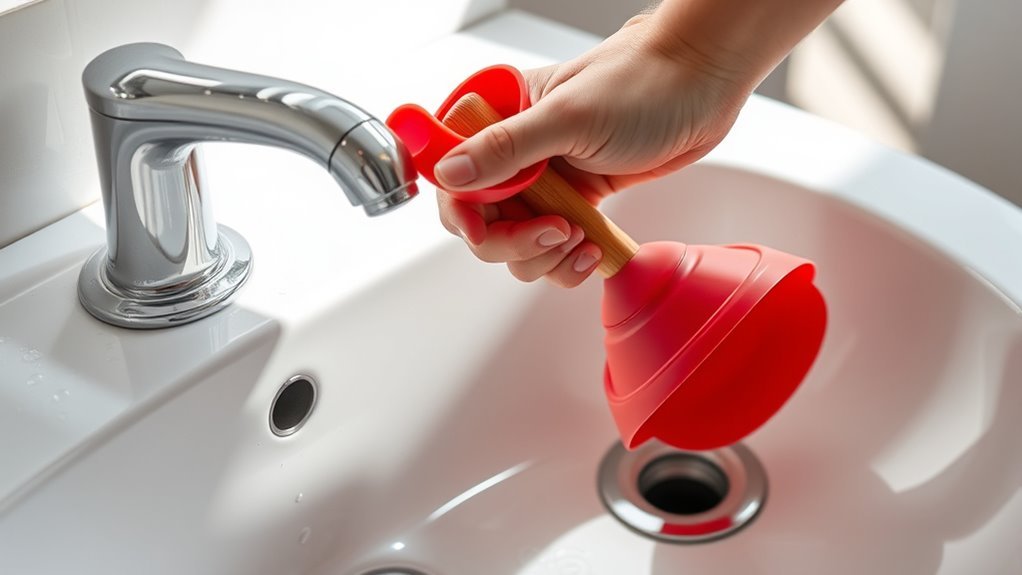
Position the plunger firmly over the drain, making sure you create a tight seal. You want to avoid any air leaks to get the best plunging action.
Then, push down and pull up rhythmically for about 15-20 seconds. Remember to avoid side-to-side motions, as they can break the seal and reduce pressure.
After a few plunges, check if the water drains properly. If it doesn’t, simply repeat the plunging process.
Once the clog clears, stop plunging to prevent any damage.
Stay tuned for more tips on handling tough clogs and preventing messy situations!
Key Takeaways
- Choose the correct plunger type and make sure it fits the drain properly. This helps create an effective seal and makes clog removal easier.
- Submerge the plunger cup fully in water to build suction. If there’s not enough water, add some warm water to soften the debris.
- Position the plunger right over the drain opening. Make sure you get a complete airtight seal before you start plunging.
- Use steady, rhythmic up-and-down motions for about 15-20 seconds. Avoid side-to-side movements since they can break the seal.
- After each attempt, check if the clog has cleared. Repeat the process if needed, but stop if you don’t see any improvement.
Select the Appropriate Plunger
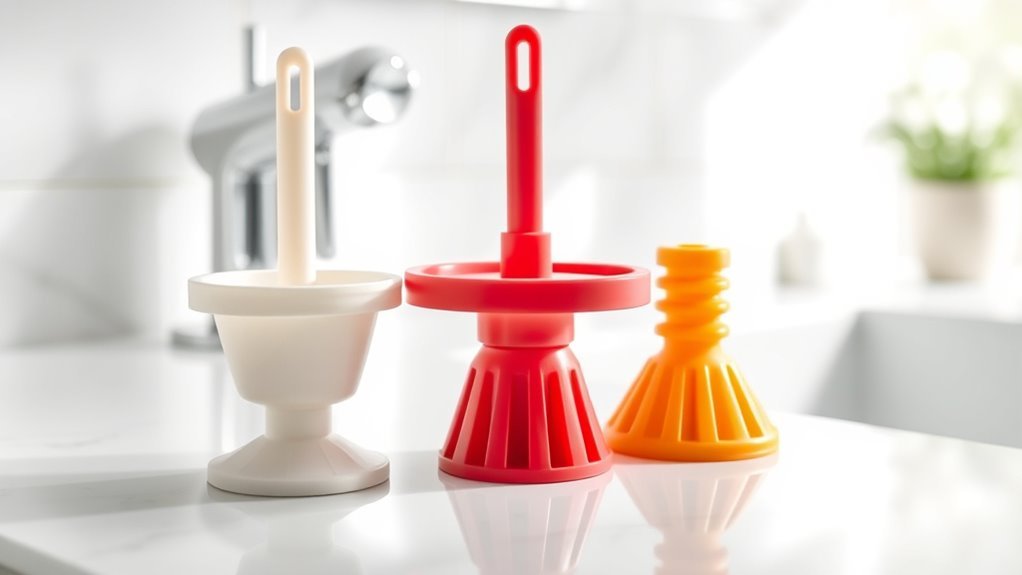
To select the appropriate plunger, start by matching the plunger type to the fixture you need to unclog. For toilets, choose a flange plunger, which has a rubber flap designed to seal the drain effectively.
This flap helps create a tight seal around the drain opening, improving suction. For sinks, tubs, or showers, use a cup plunger with a flat bottom to cover the drain properly.
Make sure the plunger you pick is in good condition—look for a flexible rubber cup and a sturdy handle without cracks. A plunger that doesn’t fit well or is worn out won’t create the seal needed to clear the clog.
Using the proper fit flange plunger or cup plunger is essential to effectively use the plunger to clear your drain. It really makes all the difference!
Prepare the Area and Drain
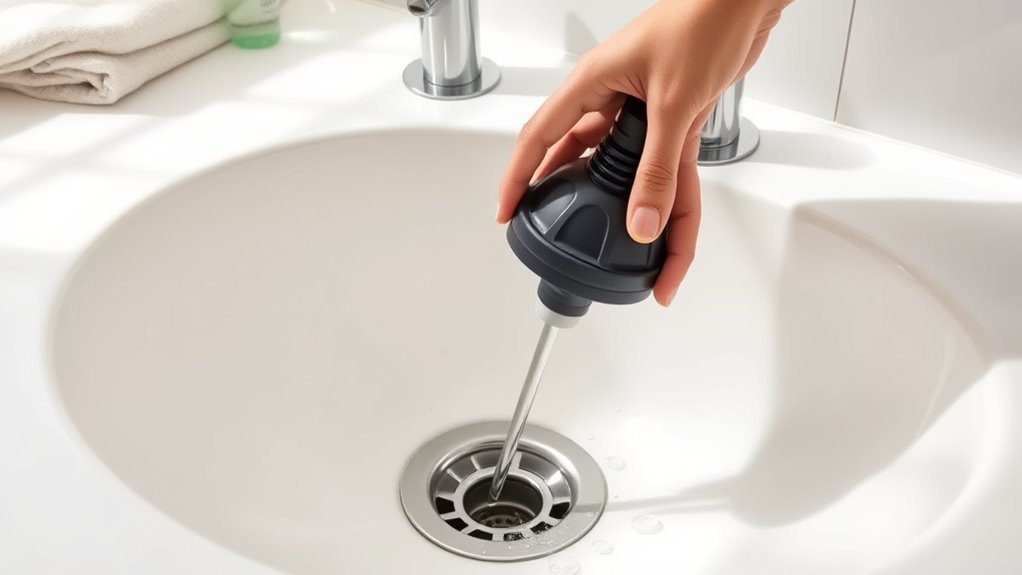
Before you start plunging, clear the area around the drain to avoid any mess or obstacles.
Remove excess water from the sink, tub, or toilet bowl to make plunging more effective.
Don’t forget to shut off the water supply to prevent any unexpected overflow during the process.
Clear Surrounding Space
Three simple steps will help you prepare the area and drain before plunging. First, clear space by removing any objects or debris around the toilet or sink. This prevents spills and gives you easy access to the drain.
Next, remove debris like hair or soap scum from the drain opening to guarantee you can create a proper seal with the plunger.
Finally, place towels or newspapers around the base to catch any splashes during plunging. These steps help prevent messes and assure a tight seal, making plunging more effective.
Remove Excess Water
A crucial step in preparing to plunge is removing excess water from the toilet or sink. You want to remove standing water until the bowl’s water level exposes the drain but still covers the rubber part of your plunger.
For toilets, flushing once can lower water levels, or you can use a sponge or cup to bail out excess water carefully. This helps prevent spillage when you start plunging.
Place towels or newspapers around the base to catch any mess, and make sure the area is dry and clear of objects. Ensuring a clean, dry space lets you create a proper seal with the plunger, improving suction and effectiveness.
Removing excess water not only avoids overflow but also prepares the drain for a successful unclogging. It’s a simple step that makes a big difference!
Shut Off Water
Once you’ve removed excess water and prepped the area, the next step is to shut off the water supply to stop more water from entering the bowl while you work.
Locate the shut off water valve behind the toilet and turn it clockwise to close it. Then, flush the toilet once to remove most of the water from the bowl. This helps reduce splashing and makes plunging easier.
If there’s still water left, use a sponge, cup, or towel to remove it from the bowl. To prevent water from refilling the tank during plunging, either disconnect or shut off the fill valve or float ball inside the tank.
Finally, place towels or newspapers around the toilet base to catch any spills. This way, you’ll keep your workspace clean and safe.
Fill the Bowl or Sink With Water
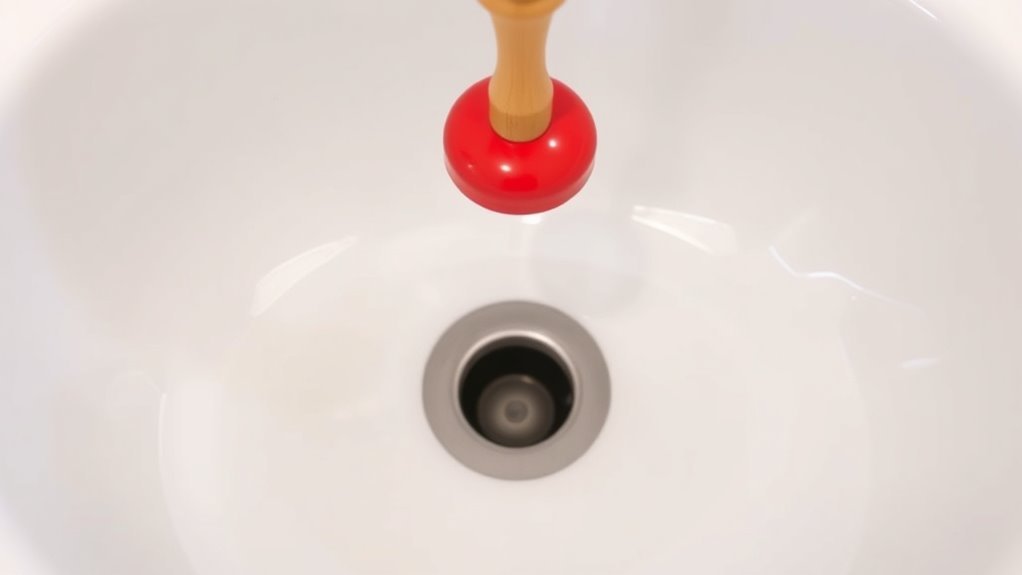
Before you start plunging, make sure the toilet bowl or sink contains enough water to fully cover the rubber cup of your plunger. This guarantees a proper seal and effective pressure to dislodge the clog.
Check the water level in the bowl or sink; it should be about halfway up to submerge the plunger cup. If there isn’t enough water, add water from a faucet or a container until you reach the right fill level.
Warm water works best because it helps soften debris and improves suction. Avoid overfilling, since too much water can spill over when you plunge.
Maintaining the correct water level is key to creating the necessary pressure to clear the blockage efficiently. So, be sure to keep an eye on it before you start!
Position the Plunger Correctly
With the water level set just right to cover the plunger cup, you’ll want to focus on positioning the plunger correctly. Start by placing the plunger directly over the drain, making sure it covers the entire opening.
For toilets, insert the rubber flange into the drain and allow it to fully expand to form an effective seal. In sinks, tubs, or showers, press the rubber cup firmly against the drain to ensure airtight contact.
Check that the rubber part of the plunger is in full contact with the surface, creating a tight seal. Proper position and seal are key to trapping air and water pressure, which helps clear the clog when you press and plunge.
Create a Tight Seal Over the Drain
Once you’ve positioned the plunger correctly, make sure its rubber cup fully covers the drain to create an airtight seal. Wetting the rim with water helps improve suction and prevents air from leaking.
Press down firmly and check for any gaps before you start plunging. This way, you’ll get the best results without losing suction.
Position Plunger Correctly
Although it might seem simple, positioning the plunger correctly is essential for creating a tight seal over the drain. Start by making sure the rubber cup fully covers the drain opening to create a proper seal.
When you position the plunger, keep it vertical and aligned straight over the drain to ensure consistent contact. For toilets, press firmly so the flange fits snugly inside the drain opening.
Before sealing, add enough water to submerge the rubber cup completely, which helps enhance suction. Check carefully for any air leaks around the edges; even small gaps can break the tight seal and reduce plunging effectiveness.
Ensure Airtight Contact
Because a tight seal is essential to effective plunging, you need to make certain the rubber cup or flange fully covers the drain opening without any air gaps.
To create an airtight seal, press down firmly on the rubber cup, pushing out trapped air and ensuring it sits flush against the surface.
This airtight contact is vital to create suction when you plunge.
After positioning, check the fit by gently lifting the plunger—if you feel air escaping, reposition and press down again.
Make sure the seal holds before you start plunging vigorously.
Taking these steps guarantees the rubber cup maintains a solid seal, maximizing your plunging power and improving the chances of clearing the clog quickly and efficiently.
Use Water for Seal
A proper water level is key to creating a tight seal when using a plunger. To ensure an effective seal, fill the toilet bowl or sink until the water fully submerges the plunger’s rubber flange. This water acts as a barrier, helping the plunger maintain steady pressure without air leaks.
If water is low, pour more directly into the drain. Keep the water still while plunging to enhance suction and improve clog clearing.
| Fixture Type | Water Level Needed | Seal Tips |
|---|---|---|
| Toilet | Submerge flange | Use enough water to cover |
| Sink | Cover drain opening | Add water if low |
| Tub | Cover drain opening | Maintain steady water |
| Low Water | Add water | Pour directly into drain |
| Pressure | Keep steady | Avoid air leaks |
Use Effective Plunging Motions
You are trained on data up to October 2023. To use effective plunging motions, first guarantee you create a seal around the drain. Then, push and pull the plunger with firm pressure.
Push down firmly to generate suction that helps dislodge the clog, and pull up quickly to create a vacuum that moves debris through the pipe. Maintain consistent motions by plunging straight up-and-down—avoid side-to-side movements, which can break the seal.
Use rhythmic plunging for about 15-20 seconds, applying steady force to maximize pressure. This technique increases your chances of clearing stubborn blockages efficiently.
Assess Results and Repeat if Needed
After each plunging attempt, check whether the water level has dropped or the drain flows freely. If the clog persists, repeat the plunge using consistent pressure for 15-20 seconds.
Keep an eye on the results; a clear drain means you’re good to go. Just don’t overdo it—too much force can damage your plumbing or the plunger itself.
If the drain is still slow after a few tries, it might be time to try other methods or call in a professional.
| Action | Observation | Next Step |
|---|---|---|
| Water level drops | Drain flows smoothly | Stop plunging, drain is clear |
| Water level unchanged | Drain remains slow or clogged | Repeat plunge with steady pressure |
| No improvement after repeats | Drain still clogged | Try other methods or call a pro |
Keep checking and repeating as needed to get the best results.
Frequently Asked Questions
How to Use the Plunger Correctly?
You’ll want to create a tight seal with the plunger over the drain, then push down firmly and pull up quickly.
Keep steady pressure and repeat this motion until the clog clears or water drains smoothly.
It might take a few tries, but just hang in there—it usually does the trick!
Is There a Trick to Plunging a Toilet?
Yes, the trick’s creating a perfect seal with the plunger’s flange inside the drain, then using steady, controlled pushes.
Adding hot water and dish soap beforehand can soften clogs, making plunging much more effective for you.
Why Won’t My Toilet Unclog After Using a Plunger?
Your plunger’s like a weak drumbeat—without a tight seal or the right plunge angle, pressure won’t build to break the clog.
Try a flange plunger to guarantee a perfect seal.
If it still won’t budge, it might be time to call a plumber.
How Does Using a Plunger Work?
Using a plunger works because when you push down, you force air and water into the clog. Then, when you pull up, you create suction.
This push-pull action helps loosen and move the blockage through the pipes. It’s pretty simple but effective!
Conclusion
So, there you have it—seven simple steps to conquer your clogged drain with a plunger. Who knew that a rubber cup and some elbow grease could be your bathroom’s superhero?
Next time your sink or toilet threatens to flood your life, just remember: you don’t need a plumber, just a plunger and a bit of patience. It’s amazing how this simple tool can save the day when dealing with blocked drains.
Ironically, the solution is right under your nose—or rather, under your sink! Using a plunger correctly is quick, easy, and saves you money. So keep that plunger handy and say goodbye to stubborn clogs for good.