How You Can Reglaze a Fiberglass Bathtub Step by Step
To reglaze your fiberglass bathtub, start by thoroughly cleaning the surface and removing any old caulk and debris. This step is crucial because a clean tub ensures the new glaze will stick properly.
After cleaning, sand the entire surface with fine-grit sandpaper to create a smooth base.
Next, wipe down the tub with acetone. This helps guarantee strong adhesion for the primer and paint.
Then, mix and apply a thin primer coat evenly over the tub. Make sure to let it dry completely before moving on.
Once the primer is ready, apply multiple thin coats of reglazing paint. Try to spread the paint smoothly to avoid drips or uneven spots.
After you finish painting, allow the tub enough time to dry and cure properly before using it.
Keep going to uncover more tips for a flawless finish and easy maintenance to keep your fiberglass bathtub looking brand new. Reglazing can truly refresh your bathroom without a full replacement!
Key Takeaways
- Thoroughly clean and remove all caulk, soap scum, and debris from the fiberglass tub surface before sanding. This step is really important to make sure everything sticks properly.
- Lightly sand the entire tub with 220-grit sandpaper. Be sure to focus on corners and seams for better adhesion.
- Clean the sanded surface with acetone or nail polish remover to eliminate grease and dust completely. This helps create a smooth base for the primer.
- Mix and apply a thin, even coat of reglazing primer. Let it dry fully according to the manufacturer’s instructions before moving on.
- Apply multiple thin coats of reglazing paint evenly. After that, you’ll want to let it cure for 48-72 hours before using your tub again.
Preparing the Bathtub Surface for Reglazing

Before you begin reglazing, you need to prepare the bathtub surface thoroughly to guarantee the new coating adheres properly. Start by removing all existing caulk, soap scum, and debris with a heavy-duty cleaner and scrub pad.
Thoroughly clean your bathtub by removing caulk, soap scum, and debris to ensure proper coating adhesion.
Then, repair any chips or cracks using a suitable filler, sanding smooth once dry. Next, sand the entire tub surface with 220-grit sandpaper to create the rough texture necessary for the reglazing coating to bond effectively.
Be mindful of sanding dust—clean it away completely to avoid interference with adhesion. After sanding, wipe down the tub thoroughly with acetone or nail polish remover to eliminate oils and residues.
Finally, mask off surrounding tiles and fixtures with painter’s tape and plastic sheeting to protect them from overspray during the reglazing process. This step really helps keep everything neat and tidy while you work.
Sanding and Cleaning the Fiberglass Tub
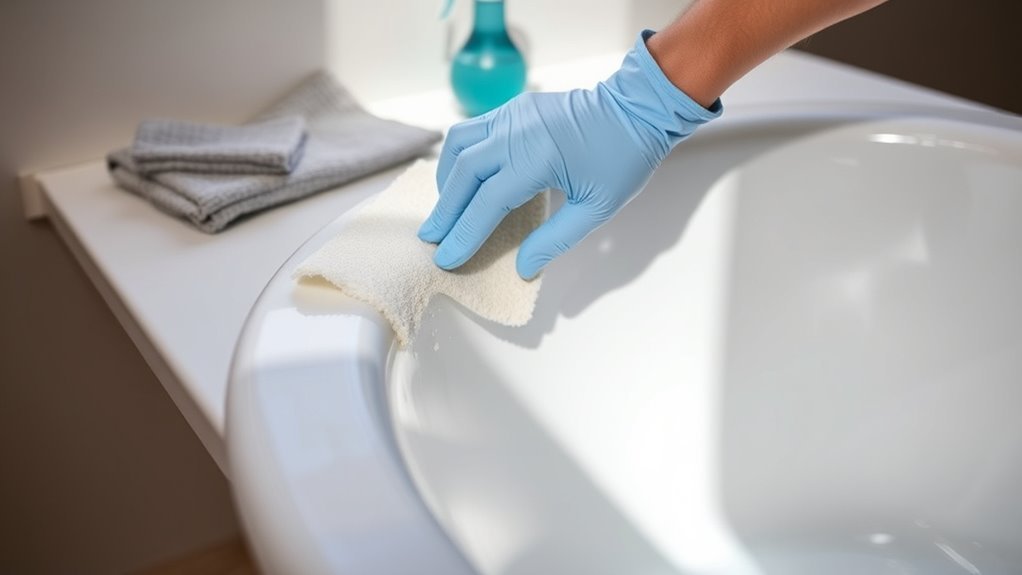
Although sanding might seem tedious, lightly sanding your fiberglass tub with 220-grit sandpaper is vital for creating the rough texture that helps the new coating adhere properly. Focus on sanding evenly across the entire surface, especially around corners, seams, and under fixtures.
After sanding, thorough cleaning is indispensable—use acetone or nail polish remover to eliminate grease, soap scum, and any debris. Pay close attention to hard-to-reach areas to guarantee no residue remains.
Once cleaned, rinse the tub with water to wash away dust and chemical traces. Finally, let the tub dry completely before moving on. Proper sanding and cleaning create the perfect foundation for a smooth, long-lasting reglaze finish.
Mixing and Applying the Reglazing Primer
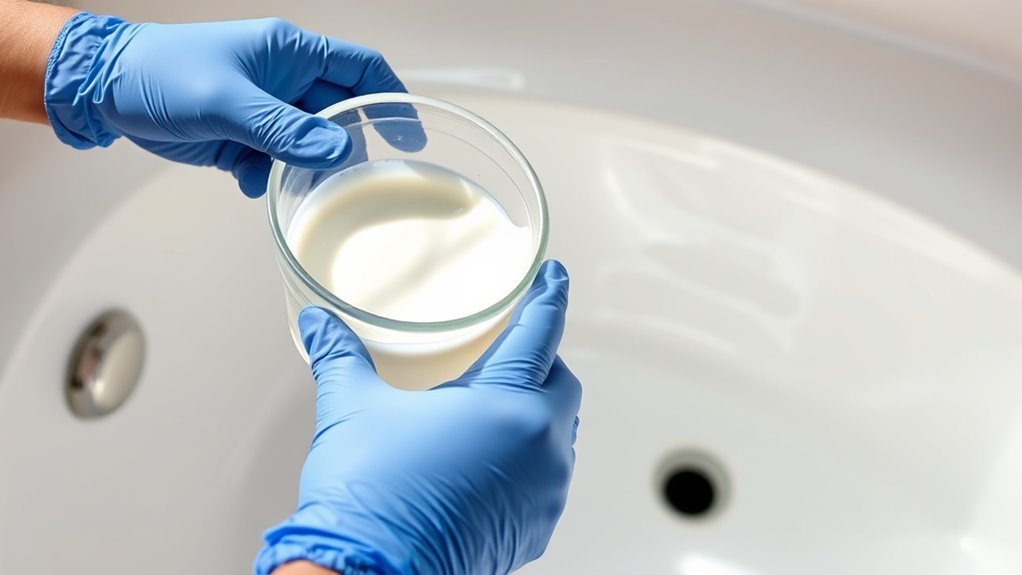
Before you start applying the primer, make sure to shake the container well to mix it thoroughly. Use a clean brush or roller to spread a thin, even coat without drips or streaks.
Then, let the primer dry completely, usually for about 30 minutes to an hour, before moving on. This step is pretty important to get the best finish.
Primer Preparation Techniques
When you mix the reglazing primer, follow the manufacturer’s instructions carefully. Usually, this means combining it in a 1:1 ratio with the specified catalyst or hardener. Proper primer preparation techniques are essential for a smooth, durable finish.
Before mixing, clean the bathtub thoroughly with a degreasing cleaner to remove oils and residues. Then, prepare the primer in a well-ventilated area to guarantee safety and proper curing.
Here’s a quick checklist for primer preparation techniques:
- Clean the surface completely to ensure adhesion.
- Mix primer and hardener precisely as directed.
- Apply in thin, even coats to avoid drips.
- Let the primer dry fully, typically 1-2 hours.
Following these steps sets the foundation for a successful reglazing project. It’s all about getting that perfect base so your finish looks great and lasts long!
Application Tools and Tips
Getting the primer mixed just right sets you up for a smooth application process. Start by thoroughly mixing the reglazing primer according to the manufacturer’s instructions until you achieve a smooth, even consistency.
For applying, use high-quality application tools like a soft-bristled brush or foam roller. These help spread the primer in thin, uniform coats without drips or pooling.
Make sure you’re working in a well-ventilated area with a temperature between 70-80°F (21-27°C) to guarantee ideal adhesion.
Always wear protective gloves and a respirator mask to avoid inhaling fumes during mixing and application. Applying the primer carefully with the right tools and conditions will prepare your bathtub surface perfectly for the next reglazing step.
Drying and Curing Times
Although applying the primer carefully is important, you’ll need to let it dry for at least 2 to 4 hours before moving on. Proper drying and curing are essential to guarantee a durable finish.
Follow the manufacturer’s instructions closely to get the best results. Here’s what to keep in mind during drying and curing:
- Allow the primer to dry for 2 to 4 hours depending on the label instructions.
- Ensure good ventilation to speed up drying and reduce fumes.
- Avoid exposing the primed surface to water or moisture during the curing period.
- Wait at least 24 hours for the primer to fully cure before applying any topcoat or using the bathtub.
Following these steps guarantees strong adhesion and a smooth, lasting reglazed surface. Just be patient—it’s worth it!
Applying the Reglazing Paint Evenly
Before you start applying the reglazing paint, make sure to stir it thoroughly to achieve a uniform consistency. Use a high-quality brush or foam roller to apply thin, even coats for even coverage, avoiding drips and runs.
Work in smooth, overlapping strokes to prevent streaks and maintain consistent coverage. Keep a steady hand and consistent speed to distribute the paint evenly across the entire surface.
| Tip | Tool | Technique |
|---|---|---|
| Stir paint well | Foam roller | Overlapping strokes |
| Thin coats | High-quality brush | Steady hand |
| Avoid drips | Clean roller | Consistent speed |
Following these steps ensures a flawless, evenly coated finish every time. Just take your time and enjoy the process!
Allowing Proper Drying and Curing Time
Once you’ve applied the reglazing paint, you’ll need to let it dry for at least 24 hours before touching the surface to guarantee it sets properly. Proper drying and curing are essential to ensure your bathtub’s new finish lasts long and looks great.
Follow these key steps:
- Allow a minimum of 24 hours for the initial drying phase before any contact.
- Wait 48 to 72 hours for full curing to let the glaze harden and bond securely.
- Keep the room well-ventilated during drying to help solvents evaporate effectively.
- Avoid using or exposing the bathtub to water until the manufacturer’s recommended drying and curing times have passed.
Adhering to these drying guidelines ensures a durable, smooth reglazed surface. It might feel like a long wait, but it’s worth it for a finish that lasts.
Final Touches and Maintenance Tips
To keep your reglazed fiberglass bathtub looking fresh and durable, you’ll want to follow some simple maintenance steps. Wait at least 24 hours after applying your refinishing kit before using the tub.
Clean regularly with mild, non-abrasive cleaners to avoid scratches. Avoid harsh chemicals and abrasive scrubbers that can harm the finish.
Apply a clear sealer annually to boost durability. Always take safety precautions when handling chemicals.
Inspect for chips or cracks and fix them promptly to extend the reglazing lifespan.
| Task | Tip |
|---|---|
| Waiting Time | 24 hours before use |
| Cleaning | Use mild, non-abrasive cleaners |
| Chemicals | Avoid harsh chemicals |
| Sealing | Apply clear sealer yearly |
| Inspection | Repair chips/cracks immediately |
Frequently Asked Questions
Can You Paint Over a Fiberglass Tub?
Yes, you can paint over a fiberglass tub, but you’ll need to clean, sand, and prime it first.
Use a tub-specific epoxy or acrylic paint, apply thin coats, and let each dry properly for lasting results.
It might take a bit of effort, but with the right prep and paint, your tub can look fresh and new again!
How Do Professionals Refinish Bathtubs?
Professionals clean and repair your tub first, then apply primer, base coat, and topcoat using specialized spray guns.
They control drying times, sand, and polish to create a smooth, durable, glossy finish that lasts long. It’s a careful process, but the results really show.
How to Make Fiberglass Shower Shine Again?
You can make your fiberglass shower shine again by cleaning it thoroughly, sanding lightly, and applying a specialized polish or car wax. Then, buff it with a microfiber cloth in circular motions.
This will help bring back that smooth, shiny surface. To keep it looking great, just do regular gentle cleaning and waxing.
Trust me, a little upkeep goes a long way!
How Much to Reglaze a Fiberglass Bathtub?
You know what they say, “A penny saved is a penny earned.” Reglazing your fiberglass bathtub usually costs between $300 and $600 if you hire pros.
But if you’re up for a little DIY, kits can save you quite a bit, costing just $50 to $150. Not too shabby, right?
Conclusion
Reglazing your fiberglass bathtub is like planting a seed in a tired garden—it takes patience, care, and the right steps to bloom anew. By preparing, sanding, priming, and painting with attention, you breathe fresh life into worn surfaces.
Just as a gardener tends to roots before flowers appear, your effort now guarantees a smooth, lasting finish. With proper drying and maintenance, your tub will shine like a well-nurtured bloom for years to come.
Remember, the key to a successful bathtub reglazing project lies in thorough preparation and applying the right materials. Taking these steps ensures your fiberglass bathtub looks brand new and withstands daily use. So, roll up your sleeves, follow the step-by-step process carefully, and enjoy a beautifully refinished tub that elevates your bathroom’s appeal and functionality.