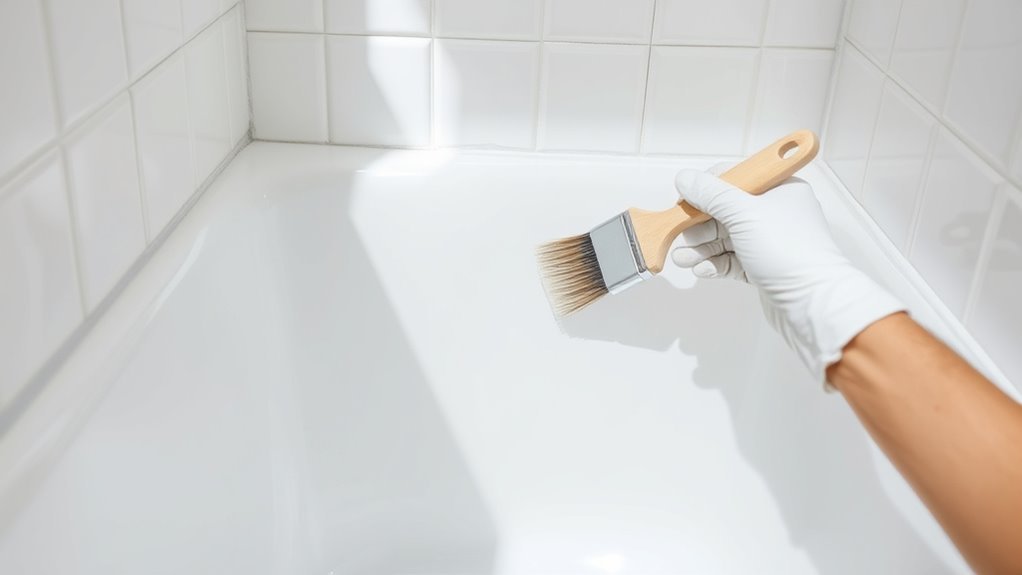
How You Can Paint Bathtub Tile Step by Step
To paint your bathtub tile, start by thoroughly cleaning with a degreaser to remove soap scum and oils. Then, sand lightly to dull the gloss for better primer adhesion.
Removing old caulk is important, so make sure you do that and wipe tiles clean of dust.
Next, apply a bonding primer designed specifically for tiles. After that, use epoxy-based paint in thin, even coats to get the best finish.
Let it cure fully before use.
Maintaining your painted bathtub tile gently will help ensure durability over time. Keep following to discover detailed steps and expert tips for a lasting finish that looks great and holds up well.
Painting bathtub tile can refresh your bathroom without a full renovation, making it a smart and cost-effective choice!
Key Takeaways
- Thoroughly clean and degrease tiles, remove old caulk, then sand lightly to create a rough surface for paint adhesion. This step is super important because it helps the paint stick better.
- Use an epoxy-based primer suitable for tiles to ensure strong bonding and durability. It’s the best way to get a long-lasting finish.
- Apply multiple thin coats of epoxy paint with a foam roller, allowing proper drying time between coats. Don’t rush it—thin layers dry better and look smoother.
- Let the painted surface cure for at least 72 hours before water exposure, avoiding use and harsh cleaning for 7 days. This curing time is key to making sure your paint job lasts.
- Maintain by cleaning gently with mild soap and sponge, inspecting regularly for chips to perform timely touch-ups. Keeping up with small fixes prevents bigger problems later on.
Preparing Your Bathtub Tile Surface

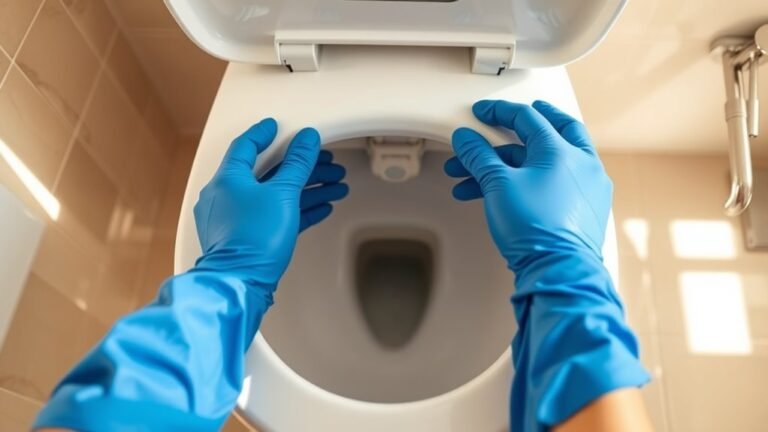
Before you begin painting, thoroughly clean your bathtub tiles using a heavy-duty degreaser or mold spray to remove soap scum, oils, and mineral deposits. Proper tile surface cleaning is essential to guarantee paint adheres well.
Thoroughly clean bathtub tiles with a heavy-duty degreaser to ensure paint adheres properly.
Rinse the tiles multiple times with water and wipe them dry with a lint-free cloth to eliminate any chemical residue. Next, remove old silicone caulk around fixtures and grout lines using a razor scraper or a caulk remover tool.
Lightly sand the glazed tile surface with 220-grit sandpaper or a fine abrasive sponge to create a scuffed texture for better paint adhesion. This step really helps the paint stick better, so don’t skip it.
Finally, vacuum the dust and wipe the tiles with a damp microfiber cloth or denatured alcohol. This thorough cleaning and prep sets the stage for a smooth, long-lasting paint job.
Gathering Essential Supplies and Tools
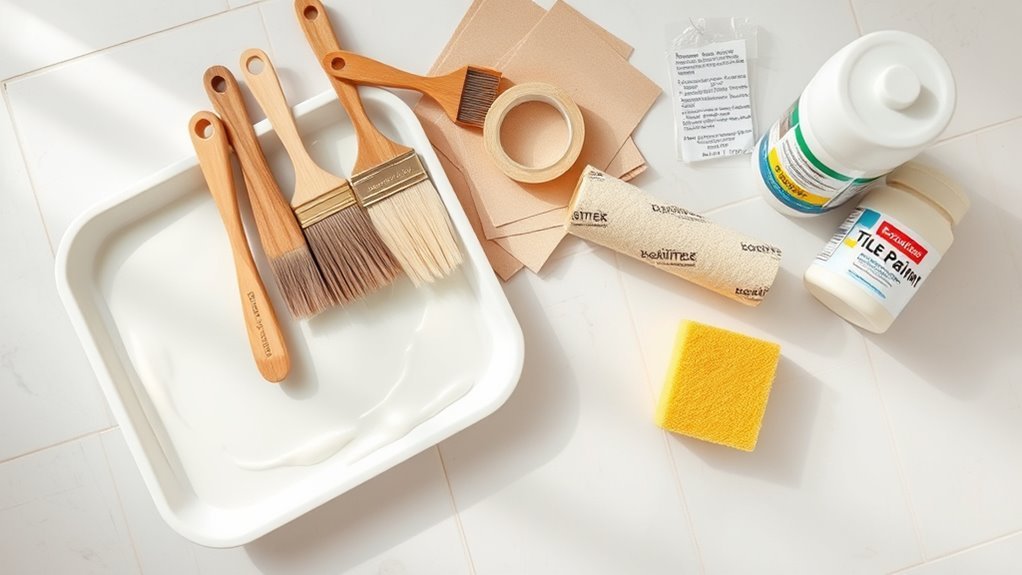
Before you start painting, make sure you have all the essential supplies like a high-quality epoxy refinishing kit and the right tools for application.
Don’t forget to gather protective gear such as a respirator mask and gloves to keep yourself safe. Having everything ready will make the process smoother and guarantee a durable finish.
Required Materials Checklist
A successful bathtub tile painting project starts with gathering the right materials and tools. You’ll need a tub and tile refinishing kit that includes epoxy-based paint, etching cream, and bonding primer for proper adhesion.
Collect application tools like high-density foam rollers, detail brushes, painter’s tape, masking film, and a paint tray. These will help you apply the paint smoothly and neatly.
Prepare cleaning supplies such as heavy-duty degreaser, isopropyl alcohol, microfiber cloths, and a scrub brush to thoroughly clean and prep the tiles. Cleaning well is key to getting the paint to stick properly.
Don’t forget essential tools like a screwdriver for removing hardware, sandpaper for scuffing surfaces, and a vacuum or tack cloth to clear dust before painting. Having these items ready makes the refinishing process go smoothly and helps you get a durable, professional-looking finish on your bathtub tiles.
Recommended Protective Gear
When you’re working with epoxy-based paints and primers, you’ll want to protect yourself properly to avoid inhaling fumes or getting chemicals on your skin. Start by wearing a respirator mask rated for fumes to shield your lungs from harmful epoxy vapors.
Nitrile gloves are essential to prevent direct contact with hazardous substances like Xylene, primer, and paint. Don safety goggles or glasses to protect your eyes from splashes or mist during mixing and application.
Wearing a long-sleeved shirt and a protective apron further minimizes skin exposure to chemicals and paint splatters. And don’t forget—make sure you work in a well-ventilated area by opening windows and using fans to disperse fumes.
Following these protective gear guidelines ensures your safety throughout the painting process. It’s worth taking these simple steps to keep yourself safe and comfortable while you work.
Cleaning and Sanding for Optimal Adhesion

Since proper adhesion depends on a clean, smooth surface, you’ll need to start by removing all soap scum, oils, and mineral deposits with a heavy-duty degreaser or mold spray. Thorough cleaning guarantees the paint bonds well to the tile.
After rinsing the tiles multiple times to remove any residue, use a razor scraper to eliminate old silicone caulk around edges. Next, lightly sand the glazed tiles with 220-grit sandpaper or a medium-grit abrasive sponge in circular motions to scuff the glossy finish.
This sanding step is vital for improving adhesion. Finally, vacuum the dust thoroughly and wipe the surface with a damp microfiber cloth or denatured alcohol.
Key steps include:
- Remove soap scum and mineral deposits
- Sand tiles lightly to scuff glossy surfaces
- Clean dust thoroughly before painting
Applying Primer to Glossy Tile Surfaces
Now that your tiles are clean and sanded, it’s time to select the right primer for glossy surfaces. You’ll want a high-adhesion bonding primer to make certain the paint sticks well and lasts longer.
Applying it in thin, even coats will give you the best results before moving on to the topcoat. Just take your time and don’t rush—it really makes a difference!
Preparing Glossy Tiles
Though glossy tiles can look sleek, their smooth surface makes it tricky for paint to stick properly. Proper surface preparation is essential to guarantee your bonding primer adheres well and creates a solid base for painting.
Start by cleaning the glossy tiles thoroughly with a degreasing cleaner to remove oils and soap scum. Then, lightly sand the surface with 220-grit sandpaper or a fine abrasive pad to dull the shine.
Finally, wipe away all dust with a damp microfiber cloth and let the tiles dry completely. These steps help the bonding primer grip the non-porous surface effectively.
Remember to apply the primer evenly and allow it to dry fully before moving on to painting or coating. Key steps include:
- Thorough cleaning to remove residues
- Light sanding to reduce gloss
- Dust removal and drying before priming
Primer Selection Tips
When painting glossy tile surfaces, selecting the right primer is essential to achieving lasting adhesion and a smooth finish. Choose a high-adhesion bonding primer like INSL-X STIX or a similar product designed for glossy surfaces to guarantee your coating sticks properly.
Before applying the primer, lightly sand the tiles with 220-grit sandpaper to create a rough texture that boosts adhesion. Then, clean the tiles thoroughly with a degreaser or isopropyl alcohol to remove soap scum and oils that can interfere with the primer’s bond.
Apply the primer in thin, even coats using a foam roller or brush, avoiding thick layers that might cause peeling. And don’t rush it—let the primer cure fully, usually 3-4 hours or overnight, before adding your paint coating for a durable finish.
Painting Bathtub Tiles With Epoxy-Based Paint
Since bathtub tiles face constant moisture and cleaning, using epoxy-based paint is your best bet for a durable, water-resistant finish that lasts.
Epoxy paint offers a durable, water-resistant finish ideal for bathtub tiles exposed to moisture and cleaning.
To achieve this, start with thorough surface preparation: clean, etch, and lightly sand the tiles to ensure the epoxy paint adheres properly.
Mix the epoxy components accurately and apply multiple thin coats using a foam roller for a smooth, even finish.
This method guarantees a durable finish that withstands frequent use.
Key steps include:
- Meticulous surface preparation for strong adhesion
- Precise mixing and application of epoxy paint
- Applying several thin coats for longevity and smoothness
Following these steps helps you create a resilient, water-resistant surface perfect for your bathtub tiles.
Curing and Maintaining Your Painted Bathtub Tile
After applying multiple thin coats of epoxy paint, you need to let your bathtub tiles cure fully for at least 72 hours before exposing them to water or heavy use. This curing period is vital to avoid damaging the fresh finish.
Once cured, apply a clear, water-based protective topcoat to boost water resistance and durability. For the first 7 days, avoid scrubbing or using harsh chemicals to protect the paint.
For ongoing maintenance, clean your tiles gently with a soft sponge and mild soap to preserve the finish. Regularly inspect the surface for chips or cracks, and perform touch-ups promptly to prevent further damage.
Following these curing and maintenance steps will keep your painted bathtub tiles looking fresh and lasting longer. Just a little care goes a long way!
Frequently Asked Questions
Can I Paint My Ceramic Bathtub?
Yes, you can paint your ceramic bathtub. Just make sure you clean and sand it well first.
Use a high-adhesion primer to help the paint stick better. Then, apply an epoxy-based or two-part refinishing paint for the best results.
Let it cure fully before using the tub to ensure lasting durability. This way, your bathtub will look great and hold up over time!
How to Paint a Bathtub Panel?
You start by cleaning and degreasing the bathtub panel thoroughly. Then, sand it lightly to create a smooth surface.
Next, apply a bonding primer to help the paint stick better. After that, paint with thin epoxy coats using a foam roller.
Make sure to let it cure properly before use. This will ensure the finish is durable and lasts longer.
Is Tub and Tile Paint Any Good?
Tub and tile paint lasts 3-5 years with proper prep and application, so yes, it’s a good option. You’ll save money and refresh your bathroom, but keep in mind it’s less durable than original ceramic finishes.
It’s a great way to give your tub or tiles a new look without a full remodel. Just make sure to prepare the surface well and follow the instructions for the best results.
How to Paint a Bathtub With a Roller?
You’ll use a high-density foam roller, applying thin, even coats from top to bottom. Squeeze out excess paint, overlap strokes, and let each coat dry 3-4 hours.
Make sure to switch rollers often to avoid imperfections. This helps keep the finish smooth and consistent.
Conclusion
Now that you’ve learned each vital step, imagine the transformation waiting just around the corner. With your carefully prepped surface, the right supplies, and that perfect coat of epoxy paint, your bathtub tile won’t just look new—it’ll feel brand new.
But here’s the secret: the final curing and maintenance are what truly seal the deal. Stick with it, and soon you’ll wonder why you ever considered replacing your tiles at all.
Ready to start painting your bathtub tile? With these step-by-step instructions, you can achieve a durable, beautiful finish that saves you time and money. Your refreshed bathtub tile will brighten your bathroom and give it a fresh, clean look without the hassle of a full renovation. Let’s get painting!