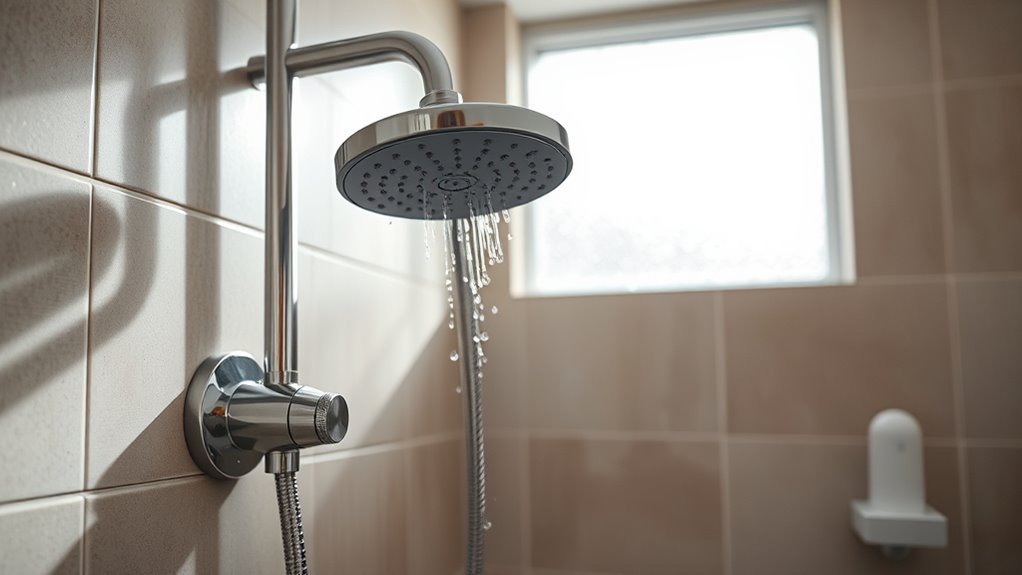
How You Can Add a Shower Wand to Your Existing Shower Head
You can easily add a shower wand to your existing showerhead by installing a diverter valve onto your current shower arm. This simple upgrade lets you enjoy the flexibility of a handheld shower without replacing your entire setup.
First, turn off the water and remove your showerhead. Then, attach a compatible diverter valve using plumber’s tape to prevent leaks.
Next, connect the handheld wand’s hose to the diverter and mount the wand holder where it’s easy to reach.
Once everything is secure, turn the water back on and check for proper function and any leaks.
Keep exploring for more tips on choosing the best diverter valve and mounting options to make your shower experience even better.
Key Takeaways
- Check if your current shower valve supports a diverter or if an inline diverter can attach to the existing shower arm.
- Choose a compatible diverter valve with durable materials and proper thread size to connect both showerhead and wand.
- Install a wall bracket or sliding bar to mount the shower wand at a convenient and adjustable height.
- Turn off the water, remove the showerhead, install the diverter with plumber’s tape, connect the wand hose, and secure the holder.
- Test the diverter operation for smooth switching and leaks. Also, make sure the wand matches your shower’s style and finish.
Assessing Your Current Shower Setup and Plumbing
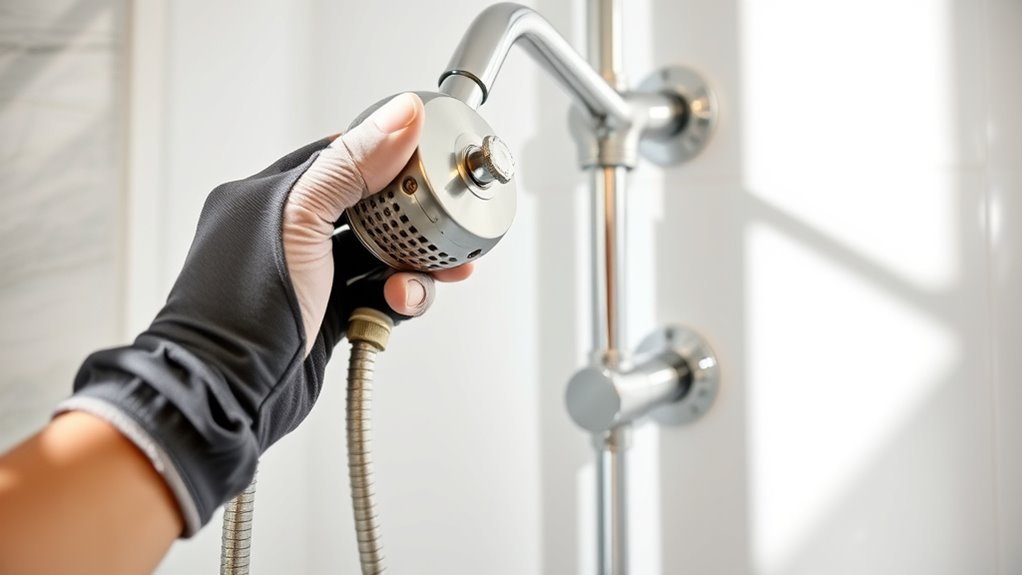
Before adding a shower wand, you’ll need to examine your current shower setup and plumbing to see if they can support it. Start by checking your existing shower valve and pipe layout to determine if they can handle a diverter or extra connections.
Identify your current showerhead and arm type and size to ensure the new shower wand will fit properly. Next, see if your plumbing has a dedicated outlet or if you’ll need to modify the riser or pipe fittings.
Also, assess available space behind the wall or in your utility closet for any wall-mounted components or piping changes. Finally, find out if your valve is single-function or can be upgraded to include a diverter, allowing multiple showerhead options.
Choosing the Right Diverter Valve for Your Needs
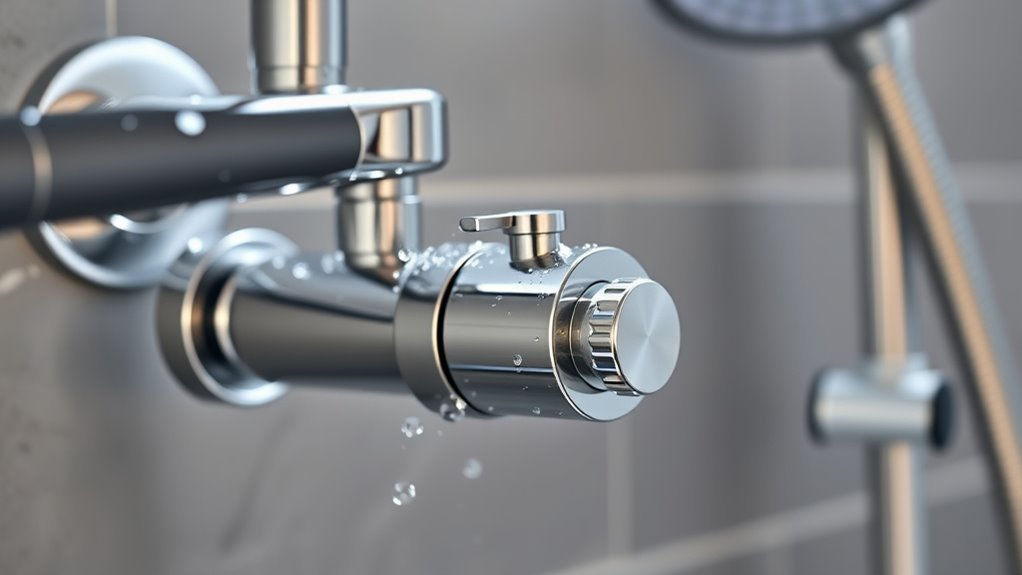
Once you’ve assessed your shower’s plumbing and confirmed it can accommodate an additional fixture, the next step is selecting the right diverter valve. Start by choosing a diverter valve compatible with your existing plumbing thread size, usually ½ inch NPT or BSP.
Decide between a single lever or knob diverter based on what feels easiest for you to switch between the shower head and wand. Look for durable materials like brass or stainless steel to ensure your diverter valve lasts and resists corrosion.
Inline diverters that install directly onto the shower arm offer a clean, simple setup without disrupting your shower’s look. Make sure the valve operates smoothly, prevents leaks, and maintains strong water flow so switching heads doesn’t reduce pressure or performance.
Options for Mounting and Positioning the Handheld Shower
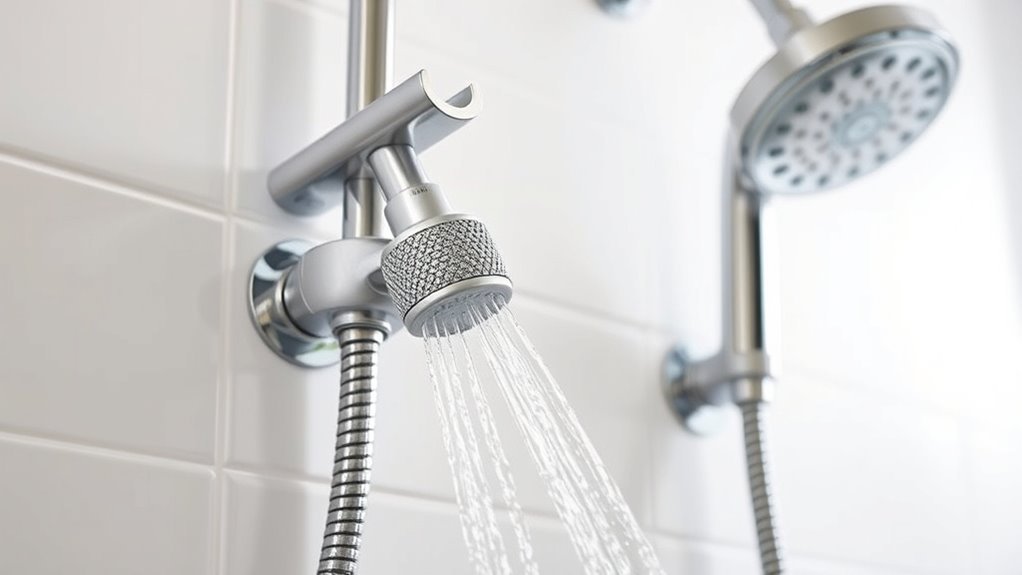
When you add a handheld shower wand, choosing the right mounting option is key to maximizing convenience and comfort. You can mount your shower wand on a wall bracket, sliding bar, or use a flexible hose to position it as needed.
A wall bracket keeps the wand accessible at a comfortable height, while a sliding bar lets you adjust its vertical position easily. The flexible hose provides versatility, allowing you to hold the wand or rest it on a holder when not in use.
When deciding, consider your height, shower size, and how easily you want to reach the wand. Proper positioning guarantees your shower wand enhances your routine without hassle, giving you both flexibility and comfort every time you shower.
Step-by-Step Installation Process for Adding a Shower Wand
Although adding a shower wand might seem complex, you can complete the installation smoothly by following a few clear steps. Start by turning off the water supply and removing your existing showerhead to access the shower arm.
Then, attach a diverter valve or splitter, sealing it tightly with plumber’s tape to avoid leaks. Connect the shower wand hose securely to the diverter, and mount the shower wand holder at a convenient height on your wall.
Finally, turn the water back on and test the diverter to ensure proper flow and check for leaks.
- Turn off water and remove existing showerhead
- Attach diverter valve with plumber’s tape
- Connect shower wand hose securely
- Mount shower wand holder on wall
- Test water flow and check for leaks
Tips for Maintaining Aesthetic Balance and Functionality
To maintain both aesthetic balance and functionality, you’ll want to choose fixtures that complement your existing shower setup. Select a wall-mounted or adjustable bracket that matches your shower heads in style and finish for a cohesive look.
Opt for sleek, modern diverters with finishes that blend seamlessly with your current fixtures, avoiding bulky or mismatched parts. Position the shower wand at a height that’s both accessible and visually balanced within your shower space.
Using concealed or minimally visible diverter mechanisms keeps the design clean and uncluttered. Finally, invest in high-quality, durable materials that align with your existing shower heads to ensure both lasting function and consistent aesthetic appeal throughout your shower area.
Professional Considerations and When to Seek Expert Help
Adding a shower wand may require changes to your plumbing that aren’t always straightforward. You’ll want a professional to assess your system and handle any valve or pressure adjustments.
Hiring an expert helps guarantee a safe, efficient installation without risking leaks or code issues. It’s definitely worth getting a pro involved to avoid headaches later on.
Plumbing Complexity Assessment
When you’re considering installing a shower wand, you’ll need to evaluate your current plumbing setup to guarantee it can handle the changes. Plumbing modifications often require understanding pipe sizes, threading, and water pressure to ensure everything fits and functions properly.
Retrofitting might mean your existing valve or plumbing needs replacement or adjustment. Consider these factors before starting:
- Compatibility of current valves with diverters
- Water pressure adequacy for multiple fixtures
- Presence of hidden wall obstructions
- Condition and type of existing pipe threading
- Need for code-compliant upgrades or replacements
If you’re unsure about any of these, consulting a licensed plumber can prevent costly mistakes and ensure a smooth installation process. It’s always better to ask before you start digging into your walls!
Benefits of Professional Installation
Evaluating your plumbing setup is just the beginning; ensuring the shower wand is installed correctly often calls for professional expertise. Professional installation guarantees a proper fit and seal, cutting the risk of leaks and water damage.
Experts assess your existing plumbing, recommending compatible diverter valves or fixtures that suit your system. When you hire a professional, you minimize the chance of damaging tiles or walls during installation.
A licensed plumber also optimizes the wand’s placement for both appearance and ease of use. Plus, they ensure your setup complies with local plumbing codes, securing long-term durability.
If you want a hassle-free, reliable upgrade, professional installation is the smart choice that prevents costly mistakes and preserves your bathroom’s integrity.
Frequently Asked Questions
How Do I Add a Sprayer to an Existing Shower Head?
You add a sprayer by installing a diverter valve between your shower arm and head.
Connect the handheld sprayer to the diverter, mount it at a comfortable height, and switch easily between the shower head and wand.
It’s pretty straightforward once you have the right parts. Just take your time to make sure everything fits snugly and there are no leaks.
Can I Convert My Shower Head to Handheld?
Yes, you can convert your shower head to handheld by installing a diverter valve or replacing the fixed head with a handheld unit.
Just make certain your fittings match standard sizes, and you’ll have flexible, convenient control in no time.
It’s a pretty straightforward upgrade that can really change your shower experience. Give it a try!
How to Change Shower Head to Handheld Attachment?
You’ll unscrew your current shower head, attach a shower hose to the shower arm, then connect the handheld showerhead. Secure it to a wall bracket and test for leaks.
If you’re switching between shower heads, use a diverter valve. It makes toggling really easy and keeps everything watertight.
How to Add a Shower Hose to a Shower Head?
You’ll unscrew your current shower head, attach a compatible shower hose to the shower arm or head, then connect the other end to your handheld wand.
Tighten connections, test for leaks, and adjust the hose as needed.
It’s pretty straightforward, and once you’re done, you’ll have a flexible shower setup that’s way easier to use!
Conclusion
Adding a shower wand is like giving your shower a new voice, letting water flow with freedom and flexibility. By carefully choosing your diverter and mounting spot, you’re not just upgrading hardware—you’re crafting a more personal, invigorating experience.
Remember, when the plumbing feels like a puzzle beyond your reach, don’t hesitate to call in the pros. With the right touch, your shower will transform into a soothing symphony of comfort and style.
Installing a shower wand can truly enhance your daily routine by adding versatility and ease. It’s a simple upgrade that makes rinsing, cleaning, and even relaxing much easier. So, if you want to elevate your bathroom’s functionality and enjoy a spa-like feel, adding a shower wand to your existing shower head is a smart move!