How Do You Stop a Shower Head From Dripping Step by Step
First, turn off your water supply to avoid spills. Removing the shower head carefully is the next step so you can inspect it for mineral buildup, damaged washers, or seals.
You might notice some stubborn deposits; soaking the head in vinegar can help clean those out effectively. After that, replace any worn washers or seals you find.
Before putting the shower head back on, wrap thread tape around the connections to ensure a tight fit. Then reattach the shower head securely.
Turn your water back on gradually and check for leaks. If the drip continues, don’t worry—there are further steps that can help you pinpoint and fix the issue completely.
Key Takeaways
- Turn off the water supply completely before starting any repair to prevent leaks and water waste.
- Remove the shower head carefully and inspect for mineral buildup, damaged washers, or worn seals.
- Soak the shower head in vinegar overnight and scrub with a toothbrush to remove mineral deposits.
- Replace worn washers, seals, and apply thread-sealing tape before securely reattaching the shower head.
- Turn the water back on gradually, check for leaks, and adjust fittings or replace faulty valves if dripping continues.
Identify the Cause of the Shower Head Drip
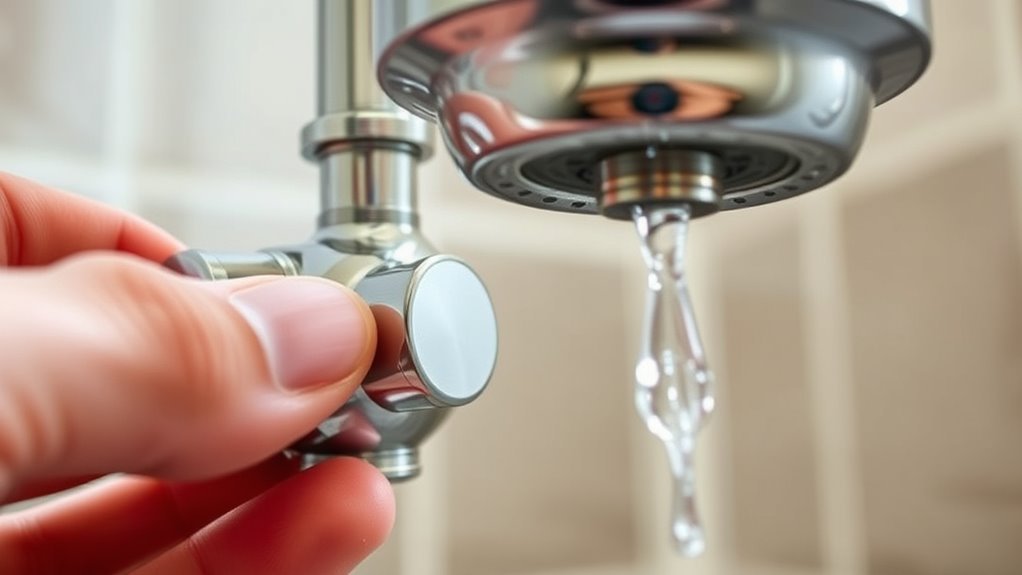
Before you can fix a dripping shower head, you need to identify what’s causing it. A leaking shower head often results from worn-out washers or a damaged valve cartridge.
Check for continuous dripping even when the water is off—that usually points to a failing internal valve or broken cartridge needing replacement. Mineral deposits and limescale buildup might block flow and cause leaks at connection points.
If the leak happens during tub filling or around threaded fittings, it’s likely due to a seal failure or loose connections. Inspect carefully to see if mineral buildup, worn parts, or loose fittings are behind the leak.
Pinpointing the exact cause will help you fix a leaky shower efficiently and prevent further water waste and damage. It’s worth taking the time to figure it out right!
Gather Tools and Materials Needed
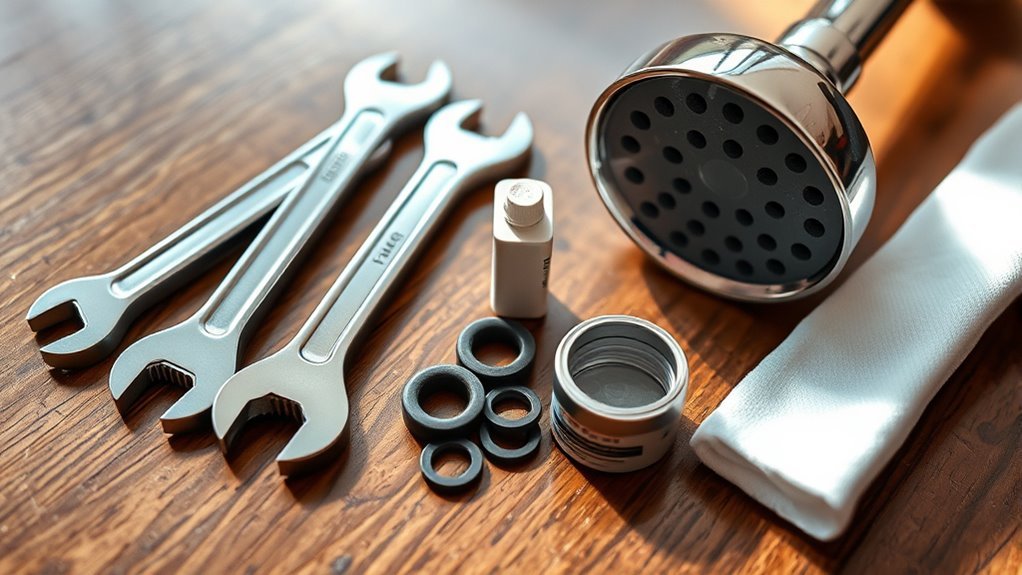
Once you’ve identified what’s causing your shower head to drip, gather the tools and materials you’ll need to fix it. Having everything ready makes the repair smoother and helps avoid unnecessary trips.
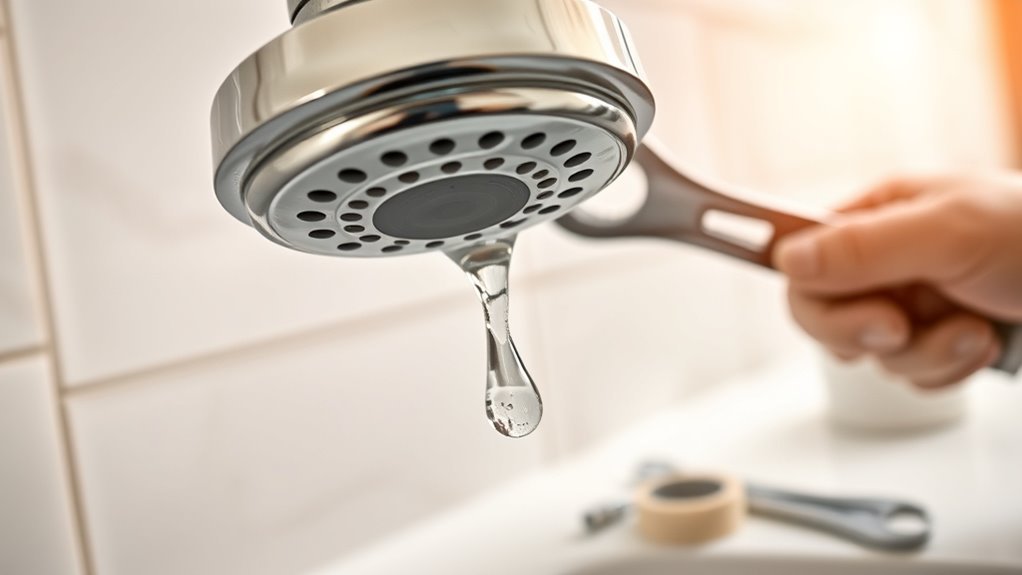
Start with basic tools like an adjustable wrench and a screwdriver, along with a cloth to protect the shower head’s finish from scratches. You’ll also want replacement washers and thread-sealing tape to ensure a tight seal.
Use an adjustable wrench, screwdriver, protective cloth, replacement washers, and thread-sealing tape for a secure shower head fix.
Cleaning supplies such as vinegar come in handy to remove mineral buildup. Before you begin, check if you need extra tools like pliers or a toothbrush for detailed cleaning.
Don’t forget to have a bucket or towel nearby to catch any water spills during disassembly.
- Adjustable wrench, screwdriver, and protective cloth
- Replacement washers and thread-sealing tape
- Vinegar and cleaning supplies
Turn Off the Water Supply
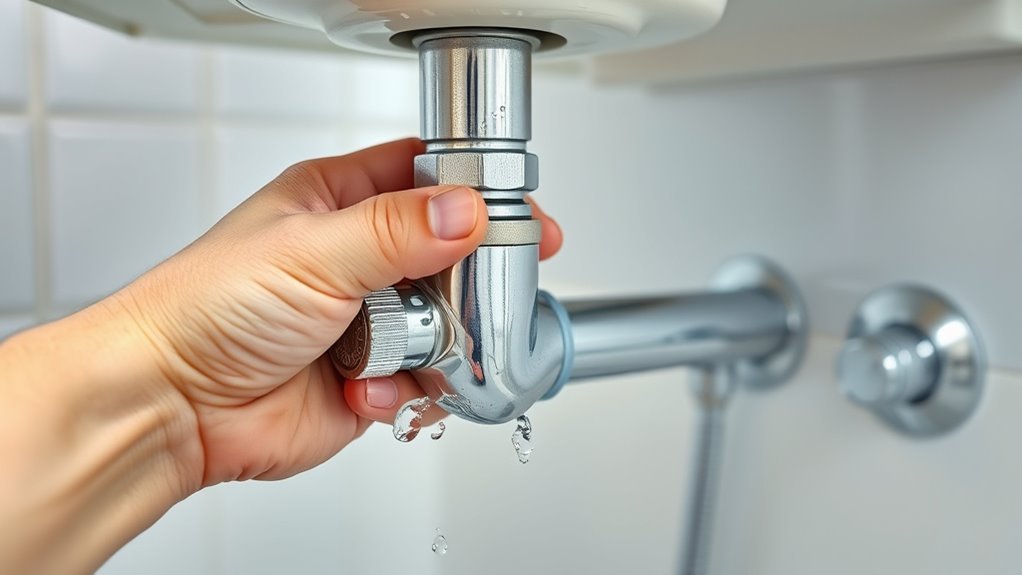
Although it might seem simple, turning off the water supply is a crucial step to prevent leaks and water damage while you work on your shower head.
First, locate the main water shut-off valve for your bathroom or your entire house. If your home has a dedicated shut-off valve for the bathroom, use it to control the water supply more precisely.
Turn the valve clockwise until it’s fully closed to stop water from entering the shower system. Next, turn on the shower faucet to confirm the water is off—no water should come out.
Always double-check the water supply is completely shut off before you begin any disassembly or repair work on the shower head. This way, you avoid any unexpected leaks or damage.
Remove and Inspect the Shower Head
Start by detaching the shower head carefully, using a cloth to protect its finish as you unscrew it counterclockwise.
Once removed, check for any damage like cracks or worn washers that could cause leaks. Don’t forget to inspect the threads and connection points for buildup that might affect the seal.
Detach Shower Head
Before you detach the shower head, turn off the water supply to prevent any leaks or sprays.
To remove the shower head, grip it firmly and unscrew it counterclockwise by hand. If it’s stuck, use an adjustable wrench or pliers, but wrap the shower head with a cloth to avoid scratching its finish.
Once detached, you’re ready to inspect for dripping issues.
Visualize this:
- A wrench wrapped in a soft cloth gently turning the shower head
- Loose mineral deposits inside the shower head’s threads
- A worn rubber washer or O-ring that might be causing leaking
Examine for Damage
After you’ve detached the shower head, take a close look for any cracks, corrosion, or mineral buildup that might be causing the drip. Use pliers or a wrench with a cloth to avoid damage when removing it.
Inspect the shower head’s threads for corrosion or debris that could prevent a tight seal and lead to a leaking shower head. Don’t forget to check inside for worn or broken washers, O-rings, and seals, as these are common culprits behind leaks.
Also, examine internal parts for any damage like broken plastic or missing components. Identifying these issues helps you decide if you can fix the leaking shower head by replacing parts or if you need a new one entirely.
Clean and Replace Worn Components
Once you’ve removed the shower head, soak it in white vinegar overnight to break down mineral deposits. Check the washers carefully and replace any that look worn or damaged to guarantee a tight seal.
Before reattaching, wrap new thread-sealing tape around the threads to prevent future leaks. This little step really helps keep everything snug and leak-free.
Remove Mineral Deposits
If your shower head keeps dripping, mineral deposits are likely the cause. Soak it in white vinegar overnight to dissolve the buildup.
This mineral buildup often leads to a leaky shower head by clogging nozzles and internal parts. After soaking, use a toothbrush to scrub away loosened deposits gently.
Try scrubbing the nozzles to clear blocked holes. Also, remove mineral crusts from valve areas and wipe down internal components for smooth flow.
As you clean, check for any worn rubber washers or O-rings you might find during disassembly. But don’t worry about replacing them just yet—that’s a step for later.
Thorough removal of mineral deposits will help your shower head work properly again and stop that annoying dripping.
Inspect and Replace Washers
Although removing mineral deposits helps, worn washers often cause your shower head to keep dripping. First, turn off the water supply and unscrew the shower head by turning it counterclockwise with pliers or a wrench.
Once removed, inspect the rubber washers inside the shower head carefully. Look for wear, cracking, or mineral buildup that could prevent a proper seal.
If you find any damaged washers, replace them with new ones matching the exact size and type. Before reattaching, clean the threads and internal parts with vinegar to remove residue.
Finally, screw the shower head back on securely by hand or with a wrench, turn the water back on, and check for leaks. Properly replaced washers often stop that annoying drip.
Apply Thread-Sealing Tape
After replacing worn washers, you’ll want to focus on the shower arm threads to guarantee a tight, leak-free connection. Start by removing the shower head and cleaning the threads thoroughly to get rid of any old thread-sealing tape or debris.
Next, wrap new thread-sealing tape clockwise around the shower arm’s threads, pressing it firmly with your fingers to avoid gaps or overlaps. This ensures a solid seal and prevents drips.
Visualize the process:
- Smooth, clean threads ready for sealing
- Even, tight wraps of thread-sealing tape
- Shower head screwed back on without cross-threading
Once reattached, tighten the shower head gently with pliers if needed. Then, turn the water on to check for leaks and reapply tape if necessary.
Reassemble and Test for Leaks
When you reattach the shower head, make sure to align the threads carefully and tighten the connection snugly by hand or with pliers. Just be careful not to over-tighten it, or you could damage the fittings.
Once it’s secured, turn the water supply back on slowly and watch closely for any leaks. Check the shower head for dripping and confirm that the water flow is steady and properly directed.
If you notice any leaks, turn the water off again and inspect the connection points. You might need to reapply thread-sealing tape to guarantee a tight seal.
Keep repeating the process until the shower head seats firmly without any leaks. Proper reassembly and testing will stop the dripping and keep your shower working smoothly.
Frequently Asked Questions
Why Is the Shower Head Dripping When Turned Off?
Your shower head is dripping when turned off because worn-out cartridges, damaged washers, or mineral buildup prevent the valve from sealing properly.
You’ll need to inspect and replace faulty parts or clean deposits to stop the leak effectively. It might seem tricky at first, but tackling these issues can save you from bigger problems down the line.
Why Is My Shower Head Still Dripping Even After I Replaced the Valve Cartridge?
You replaced the valve cartridge, yet it’s still dripping—that’s frustrating!
Often, leftover debris, worn washers, or misaligned parts cause leaks. Check those seals and clean deposits; even new parts can’t fix hidden blockages or damage.
What Are the Most Common Causes of Shower Head Leaks?
The most common causes of shower head leaks are worn washers or seals, mineral buildup, faulty valve cartridges, loose fittings, and corrosion.
You’ll want to check these parts carefully to stop your shower from dripping.
It’s usually not a big deal to fix once you know what’s going on. Just take your time inspecting each component, and you should be able to pinpoint the problem.
How to Fix a Dripping Rain Shower Head?
To fix a dripping rain shower head, start by turning off the water and soaking it in vinegar overnight.
This helps break down any mineral buildup causing the drip. Then, scrub away the buildup gently.
Next, replace the thread tape on the shower head’s connection. Make sure to reattach it tightly—you’ll nip the problem in the bud. Easy fix, right?
Conclusion
Stopping your shower head from dripping might seem tricky, but once you identify the cause and gather your tools, it’s straightforward. You’ll turn off the water, inspect the parts, and replace any worn components.
What once was a constant drip-drip-drip becomes silence. The frustration of wasted water transforms into the satisfaction of a simple fix.
With just a little effort, you’ll go from annoyance to accomplishment—no plumber needed. Fixing a dripping shower head not only saves water but also cuts down on your water bill. So grab your tools and get ready to stop that drip for good!