How Do You Paint Behind a Toilet in 5 Easy Steps
First, turn off the water supply and either remove or secure the toilet to prevent any water damage. This step is crucial before you start painting behind the toilet. You want to make sure everything stays dry and safe.
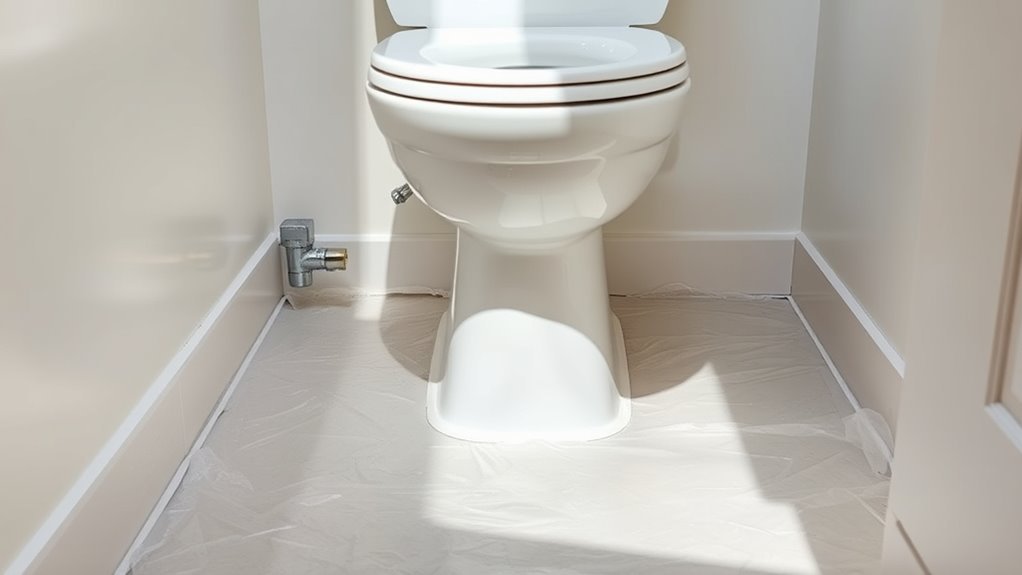
Next, cover the toilet and the surrounding areas with plastic sheets and painter’s tape. This protects your toilet and floor from any paint splatters that might happen. It’s a simple way to keep your space clean while you work.
Now, clean and repair the wall behind the toilet. Make sure the surface is dry before you start painting. A clean, smooth wall helps the paint stick better and look great.
Use small rollers and brushes designed for tight spaces to paint behind the toilet smoothly. These tools make it easier to reach those tricky spots without making a mess.
Finally, let the paint dry completely before putting everything back in place. Taking your time here ensures a neat finish.
Following these steps will make painting behind your toilet easier and cleaner—trust me, you’ll get it just right!
Key Takeaways
- Turn off the water supply, drain the toilet, disconnect the water line, and carefully remove the toilet to access the wall behind it.
- Protect the toilet, floor, and surrounding areas thoroughly with plastic covers, painter’s tape, and drop cloths to prevent paint damage.
- Clean and repair the wall behind the toilet, sanding lightly to ensure smooth, dry surfaces for paint adhesion.
- Use small brushes, foam pads, or mini rollers to carefully paint tight spaces behind the toilet without streaks or missed spots.
- Allow the paint to dry fully per instructions before reinstalling the toilet and avoid pressure on the painted surface during curing.
Turn Off Water and Prepare the Toilet
Before you start painting behind the toilet, turn off the water supply valve located nearby to prevent leaks. Once you turn off the water, flush the toilet to drain the remaining water from the tank and bowl.
Next, you’ll want to disconnect the water supply line carefully using a wrench. If your goal includes better access, remove the tank by unscrewing the bolts that hold it in place.
After that, unscrew the bolts at the base of the toilet to remove it entirely. Be sure to place a plastic bag over the open drain to stop debris from falling inside while you work.
Taking these steps guarantees a clean, safe area for painting behind the toilet without risking water damage or mess.
Protect Surrounding Areas With Covers and Tape

While you prepare to paint behind the toilet, make sure to cover the toilet bowl and tank with a plastic trash bag secured by painter’s tape to prevent any paint splatters. Use painter’s tape to seal edges around the toilet base and nearby fixtures for effective masking, preventing paint from seeping into unwanted areas.
Lay rosin paper or painter’s drop cloths on the bathroom floor to catch drips and protect surfaces from spills. For overspray prevention, wrap a microfiber cloth or old towel around the toilet base and tape it in place.
Taking these steps guarantees thorough protecting surfaces, keeping your bathroom clean and damage-free while you paint behind the toilet. Proper covers and careful taping make cleanup easier and help you achieve professional results.
Clean and Prepare the Wall Surface
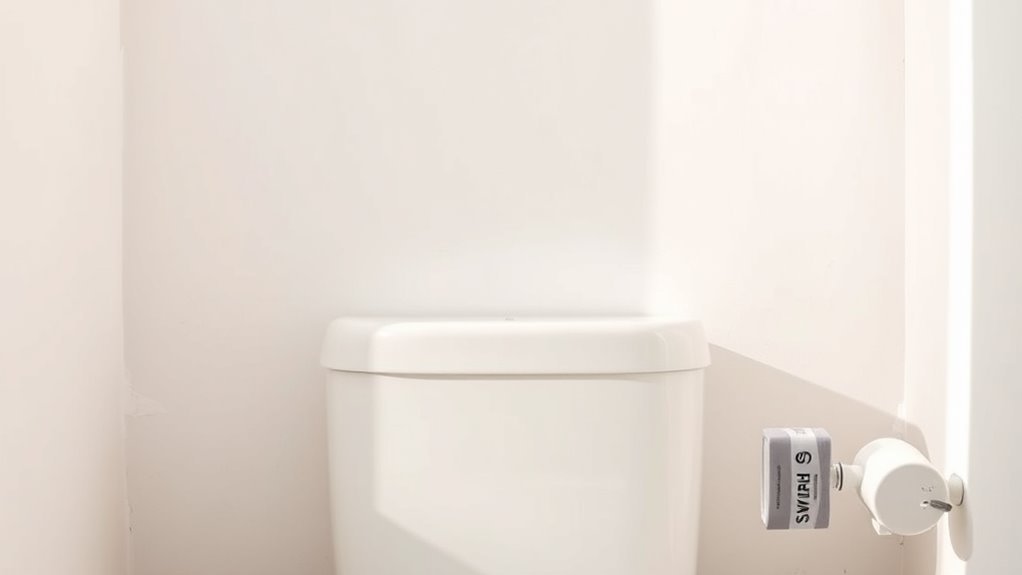
Since a smooth, clean surface is essential for paint to adhere properly, start by removing any dirt, dust, mold, or mildew from the wall behind the toilet using a damp cloth or a suitable cleaner.
Next, repair any cracks or holes with spackle or filler, then sand the wall surface smoothly to create an even base. If the wall has existing paint, lightly sand it to improve paint adhesion.
Make sure the wall is completely dry before moving on. Don’t forget to protect the toilet and surrounding areas with plastic sheeting or painter’s tape to avoid unwanted splatters.
Taking these steps to clean and prepare the wall surface assures your paint job looks professional and lasts longer.
Use Specialized Tools to Paint Tight Spaces
Although painting behind a toilet can feel tricky, using specialized tools makes the job much easier and guarantees you don’t miss any spots. Extended handle rollers and mini rollers are perfect for tight space painting, letting you reach the wall behind the toilet without removing it.
Wizz rollers with an extended handle simplify the process, reducing the need for extra tools or fixture removal. You can also use small brushes or foam paint pads to access tight corners around the toilet tank and base.
Insert a 4-inch roller through the gap and pull it back steadily to avoid streaks or missed spots. Remember to clean and maintain your specialized tools after use so they stay effective for your next tight space painting project.
Allow Paint to Dry Before Reassembling
Before you reassemble the toilet, you need to let the paint dry completely to avoid smudges or damage. The drying time varies depending on the paint finish, so check the manufacturer’s recommendations—some finishes may need up to 48 hours.
Avoid touching or putting pressure on the painted surface during this curing process to prevent streaks or fingerprints. Make sure your bathroom has proper ventilation; this speeds up drying and reduces humidity that can delay curing.
Even after the paint feels dry to the touch, wait a few more hours to ensure it’s fully cured before reassembling the toilet. Taking these steps ensures a smooth, durable paint job behind your toilet without risking damage during reinstallation.
Frequently Asked Questions
Is It Possible to Paint a Toilet?
Yes, you can paint a toilet, but you’ll want to use waterproof, mildew-resistant paint for durability.
Make sure to clean and prime the surface first, and consider removing the tank for easier access and a smoother finish.
It’s a bit of a process, but with the right prep, your toilet can get a fresh new look!
What Are the Steps to Paint a Bathroom?
You start by cleaning surfaces and protecting fixtures. Sand walls lightly, then prime.
Use quality paint and apply thin, even coats. Let each layer dry fully.
Finally, remove coverings and touch up any spots. Easy, right? Just take your time and you’ll have a fresh bathroom in no time!
Do You Need Bathroom Paint in a Downstairs Toilet?
Yes, you definitely need bathroom paint in a downstairs toilet. It safeguards walls from moisture and humidity, prevents mold, and guarantees durability.
Using moisture-resistant paint like semi-gloss or satin keeps your space fresh and clean longer. Plus, it makes cleaning a breeze, which is always a win in any bathroom!
How to Paint Behind a Toilet?
You can paint behind a toilet by turning off the water, draining the tank, and either removing the toilet or using a long-handled roller or brush.
Protect surfaces, apply paint smoothly, and check for missed spots with a mirror. It’s a bit tricky, but with the right tools, you’ll get it done neatly.
Conclusion
Now that you’ve danced behind the throne with your paintbrush, your bathroom’s looking fresh and bright like a hidden gem revealed.
By turning off the water, protecting your space, prepping the wall, and carefully painting those tight spots, you’ve turned a tricky task into a breeze.
Let your masterpiece dry fully before putting everything back, and enjoy the glow of a job well done—your bathroom’s new vibe is ready to shine!
Painting behind a toilet doesn’t have to be a chore. With these easy steps, you’ve refreshed that often-overlooked space, making your bathroom feel cleaner and more inviting. So next time you tackle bathroom painting, remember: a little prep and patience can transform even the tightest spots into a flawless finish. Your bathroom’s fresh new look is proof it’s worth the effort!